How to Make a Shaker Cabinet Door?

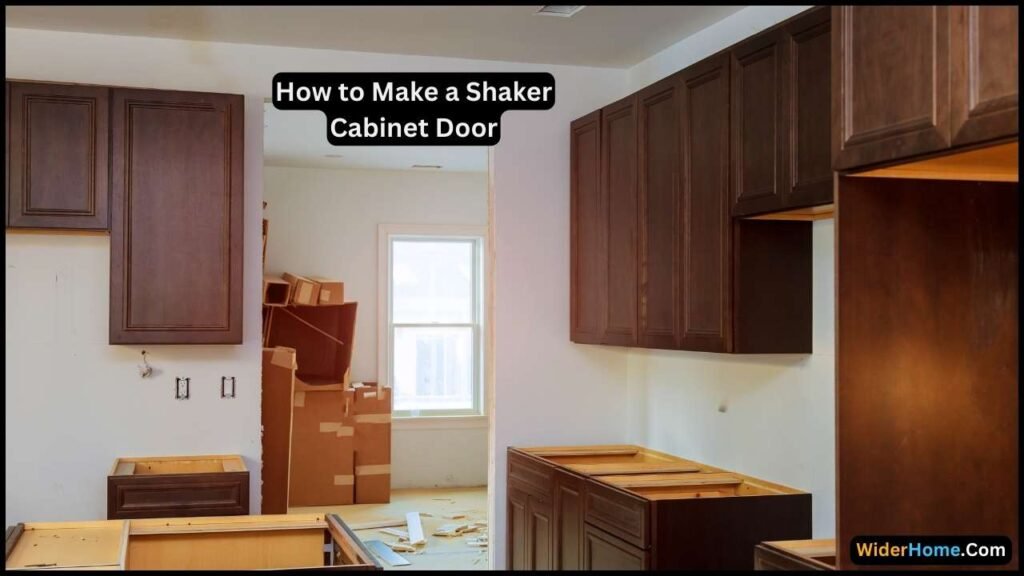
Making shaker cabinet doors is a satisfying woodworking project that may completely change the appearance of your bathroom or kitchen. Shaker-style furniture is popular for traditional and modern settings because of its classic elegance and simple, clean lines.
This guide walks you through the entire procedure, from material selection through final installation. Whether you are a novice or an experienced carpenter, following these comprehensive instructions will help you create stunning, long-lasting cabinet doors that capture the essence of the traditional Shaker style.
Type of Wood to Use for Shaker Cabinet Doors
Selecting the appropriate wood species for your Shaker cabinet doors is crucial for longevity and visual appeal. Because of its solidity and timeless appearance, solid wood is the perfect choice for these doors. Popular options consist of:
- Maple: This wood is renowned for being durable and having a smooth touch. It is adaptable for various finishes because it is simple to paint or stain.
- Cherry: As time passes, the rich hue of cherry wood becomes deeper. It also has an upscale appearance and is incredibly durable.
- Oak: Oak has a distinct texture and is a robust, solid wood. It’s ideal for a conventional look.
- Pine: Pine is a less expensive, softer wood. It is easy to work with and accepts paint well despite its tendency to dent.
Medium-density fiberboard (MDF) is another great choice for painting cabinet doors. It’s perfect for a sleek, contemporary finish because it’s grainless, smooth, and reasonably priced.
Recall that your budget, the style you want, and whether you want to paint or stain the wood will all determine what kind of wood is best for your Shaker cabinet doors.
Materials Needed to Make a Shaker Cabinet Door

MDF (Medium-Density Fiberboard) or solid wood is the main material used to make doors. MDF is cheaper and simpler to work with than solid wood, but solid wood has a more conventional, premium appearance.
Router or router table: This tool makes rabbets and grooves (dadoes) in the wood. Using a router table helps facilitate more accurate cutting.
Sandpaper (various grits): Sandpaper evans wood surfaces and prepares them for staining. Various grits, ranging from coarse to fine, will be required.
Wood glue: This glue firmly joins the pieces of wood.
Pencil: Mark measurements and provide guidance for cuts using a pencil.
Safety goggles and ear protection: When using power tools, protect your eyes and hearing with these critical safety equipment.
Wood finish or paint: The finish improves the wood’s beauty and preserves it. Paint can create a colorful effect, while wood finishes can highlight the natural grain.
By being aware of each material’s function, you can ensure that you are ready to begin your Shaker cabinet door project.
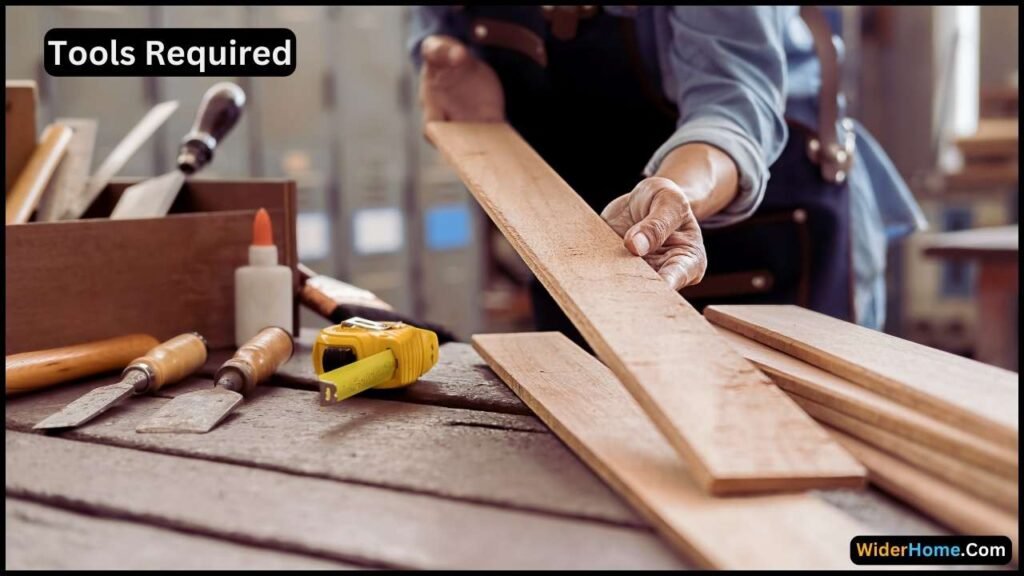
Tools Required to Make a Shaker Cabinet Door

Table saw or circular saw: These tools cut wood to the right size. A table saw offers precise cuts, but a circular saw can also work well if that’s what you have available.
Router with a straight bit: A router helps create grooves (small channels) and rabbets (small steps) in the wood, which are needed for the frame and panel to fit together snugly.
Chisel: This hand tool cleans up rough edges or corners after cutting or grooves.
Mallet: A mallet is a type of hammer with a soft head. It’s used with the chisel to shape and adjust the wood without damaging it.
Sanding block or electric sander: These tools smooth the wood surfaces. Sanding blocks are used manually, while an electric sander can make the job quicker and easier.
Clamps: Clamps hold the wooden pieces tightly together while the glue dries, ensuring a strong and secure bond.
Measuring tape: A measuring tape ensures you cut the wood to the correct size by allowing you to take accurate measurements.
Carpenter’s square: This tool helps you check and mark right angles (90 degrees) to ensure your cuts are straight and square.
By familiarizing yourself with these tools and understanding their uses, you will be better prepared to complete your Shaker cabinet door project successfully.
How to Make a Shaker Cabinet Door | Step-by-Step

Creating Shaker cabinet doors can be an enjoyable project that enhances your kitchen or bathroom. Here are the steps explained in simple, easy-to-understand language:
Preparing the Wood
- Cutting the Pieces: Cut the wooden boards into specific parts for the door’s frame and panel. You’ll need four pieces for the frame (two stiles and two rails) and a panel to fit within this frame.
- Measuring Accurately: Measure and mark each piece carefully with a pencil to ensure everything fits together perfectly.
Making Grooves in the Frame
- Setting Up the Router: Attach a straight bit to your router. This tool will help you cut grooves along the inner edges of the stiles (vertical pieces) and rails (horizontal pieces).
- Cutting the Grooves: Guide the router down the middle of each piece to create a groove about 1/4″ deep. These grooves will hold the panel in place.
Shaping the Panel
- Cutting the Panel to Size: It fits snugly into the grooves you made in the frame pieces.
- Adding Rabbets: Use the router to create small steps or “rabbets” around the edges of the panel. This step ensures the panel sits flush with the frame’s grooves.
Putting the Door Together
- Dry Fitting: First, assemble all pieces without glue to check the fit. Ensure everything aligns well and make adjustments if needed.
- Gluing: Apply wood glue inside the grooves of the stiles and rails.
- Assembling: Insert the panel into the grooves of the stiles, then attach the rails. Clamp the assembled door tightly and let the glue dry.
Finishing Touches
- Sanding: Use sandpaper to smooth the surfaces and edges after the glue dries. Start with a rough grit and finish with a finer grit for a smooth surface.
- Applying Finish: Choose a paint or wood finish to protect and enhance the wood. Apply it evenly and let it dry completely.
Installing the Door
- Attaching Hinges: Secure the hinges to the stiles, then align and attach the door to the cabinet frame.
- Final Adjustments: Check that the door hangs straight and adjusts smoothly. Make any necessary tweaks.
Following these simplified steps, you will achieve a beautifully crafted Shaker cabinet door showcasing your woodworking skills.
Troubleshooting Common Problems

You might encounter issues while making a Shaker cabinet door, even with careful planning. Here’s a quick guide to handle some common problems:
Pieces Don’t Fit Together
Check Measurements: Measure each piece again to ensure all dimensions are correct.
Adjust Cuts: Trim any oversized parts with your saw for a better fit.
Grooves Are Not Deep Enough
Recheck Router Depth: Ensure your router bit is set to the correct depth.
Re-Groove: Pass the router through the groove again to deepen it.
Panel Doesn’t Sit Flush
Check Rabbets: Make sure the rabbets around the panel edges are even and fit well into the grooves.
Trim Panel: If needed, carefully trim the edges for a snug fit.
Wood Splits or Chips
Use Sharp Blades: Ensure your saw blades and router bits are sharp to make clean cuts.
Cut Slowly: Take your time to avoid putting too much strain on the wood.
Glue Joints Don’t Hold
Apply More Glue: Ensure enough wood glue in the grooves and joints.
Clamp Securely: Use clamps to hold pieces tightly while the glue dries completely.
Following these troubleshooting tips, you can successfully overcome common issues and complete your Shaker cabinet door project.
Frequently Asked Questions
What type of wood is best for making Shaker cabinet doors?
Because of their strength and eye-catching grain patterns, hardwoods like maple, cherry, and oak are typically used to make Shaker cabinet doors. Any wood, though, would do, provided it fits your financial and aesthetic needs.
Can I use a hand saw instead of a table for the cuts?
Although a hand saw can be used, a table saw offers more accurate and reliable cuts necessary for precisely fitting the parts together.
How long should I let the glue dry before unclamping the door?
Let the glue dry for at least 24 hours for a solid bond. Refer to the wood glue’s manufacturer’s recommendations for precise drying times.
Do I need to use clamps during the gluing process?
Indeed, clamps are necessary to hold the parts firmly together while the glue dries. They also help ensure that the door stays square and the joints are sturdy.
What grit sandpaper should I use for sanding the door?
To eliminate rough areas, begin with a coarser grit, like 80 or 100. Gradually work your way up to finer grits, such as 150 and 220, to get a flawless finish.
Can I stain the door instead of painting it?
Staining can greatly enhance the natural beauty of the wood grain. To achieve an even finish, prepare the wood before applying the stain.
How do I ensure the door hangs straight on the cabinet?
Make sure the cabinet frame is square and the hinges are positioned correctly. The hinges can be slightly adjusted to get the ideal fit.
Can I make Shaker cabinet doors without a router?
Alternative tools like a chisel can create grooves and rabbets, but a router facilitates and improves the operation. More cautious work will be needed for this.
Conclusion
In conclusion, a few simple stages are involved in creating a Shaker cabinet door, from shaping and cutting the wood to assembling and completing the piece. You can make a high-quality door if you carefully follow the directions, double-check your work, and use the troubleshooting advice as needed. Your project will succeed if you are patient, precise, and detail-oriented, and the end product will be a lovely and useful addition to your cabinetry.
